Cruise eSIM Problems and Troubleshooting
My eSIM Shows “No Service”: What to Do?

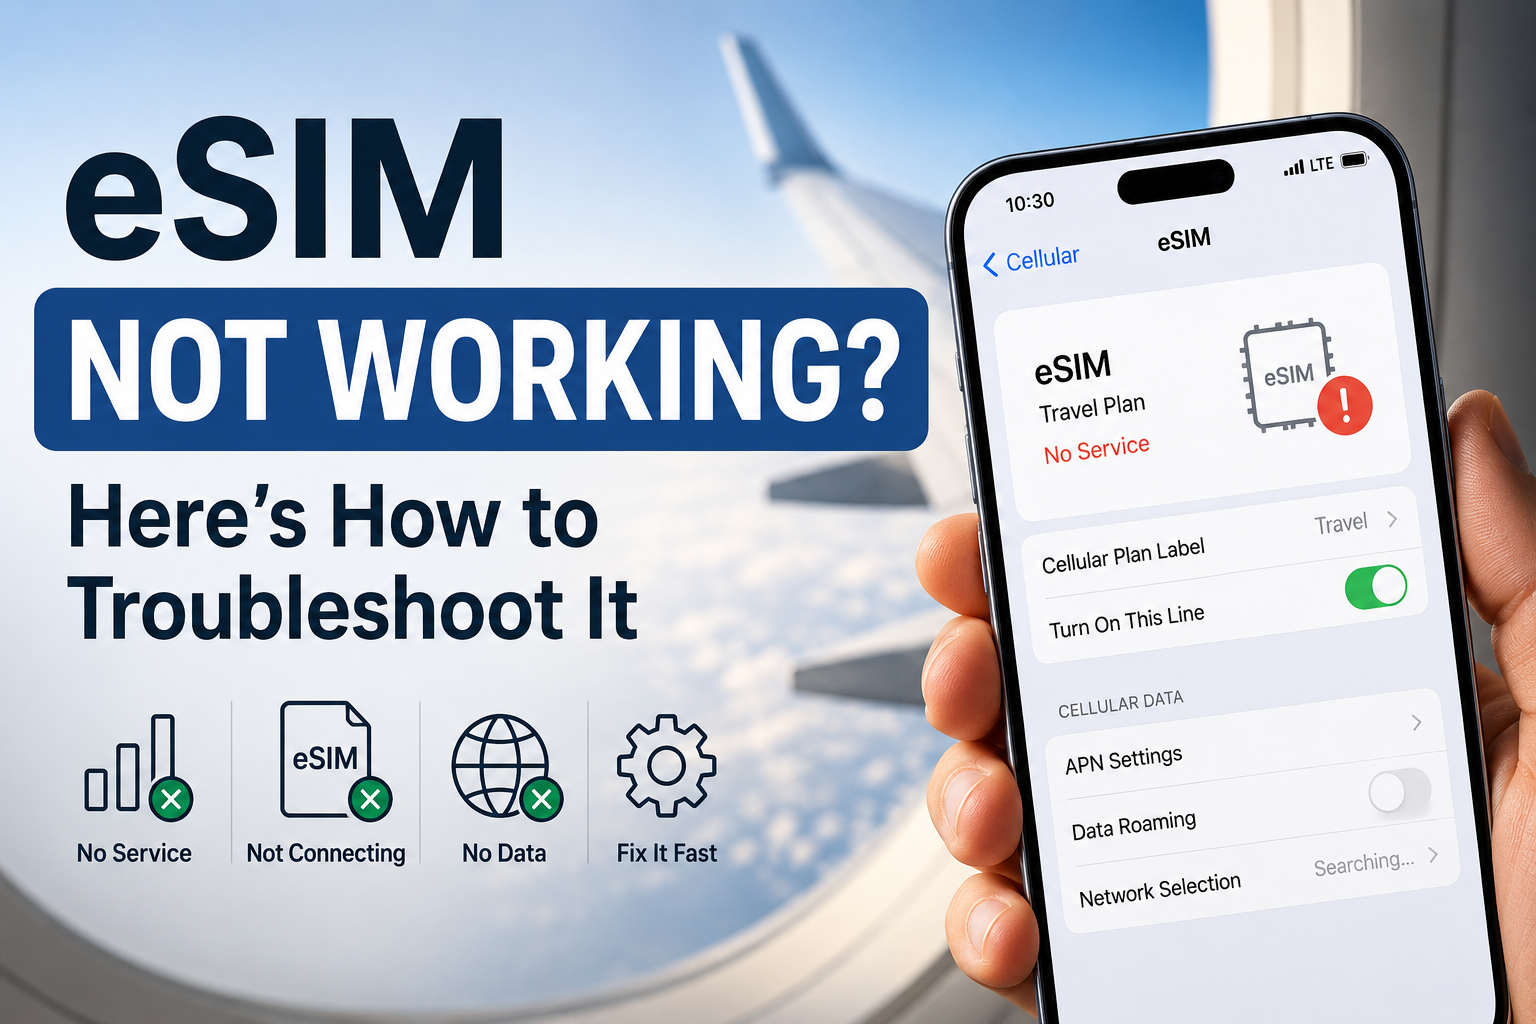
Seeing “No Service” on your eSIM doesn't necessarily mean something is wrong.
Your phone may simply be outside the plan's coverage area, waiting to connect to a supported network, or using incorrect mobile data or roaming settings.
This is especially common with cruise eSIMs, where your phone may switch between terrestrial networks in port and maritime networks at sea.
In this guide, we'll explain why your eSIM shows “No Service,” when it's completely normal, and what you can do to get connected.
Quick Answer: Why Does My eSIM Say “No Service”?
Your eSIM may show “No Service” when it can't connect to a supported mobile network.
This doesn't necessarily mean the eSIM is broken or installed incorrectly.
With a cruise eSIM, “No Service” can can appear when:
The eSIM is turned off.
You're outside the eSIM's coverage area.
The ship hasn't reached a supported maritime network yet.
Your phone is switching between a maritime network at sea and a terrestrial network near or in port.
Data roaming is turned off when the eSIM provider requires it.
Network selection or APN settings are incorrect.
The eSIM plan hasn't activated yet.
The plan has expired or run out of data.
Your phone is carrier-locked or doesn't support the eSIM.
If you installed your cruise eSIM before departure and it shows “No Service,” don't immediately delete or reinstall it. It may simply be waiting for a supported network to become available once your cruise begins.
It's also important to distinguish “No Service” from having signal but no internet. “No Service” generally means your eSIM isn't connected to a cellular network. If you see signal bars or a network name but can't access the internet, your eSIM is connecting to a network, but there may be a different mobile data issue.
If that's the case, see our guide: eSIM Not Working? Here's How to Fix It
What Does “No Service” Mean on an eSIM?
When your phone displays “No Service,” it means it cannot currently register on an available mobile network using that eSIM. The eSIM profile may still be installed and working correctly, but your phone simply hasn't established a cellular connection.
However, not every connection problem looks the same.
The message or symbol displayed on your phone can help identify what is happening:
What You See | What It Usually Means |
|---|---|
No Service | Your phone cannot currently register on a supported mobile network using the eSIM. |
SOS / Emergency Calls Only | Regular cellular service isn't available, although your phone may still be able to connect to an available network for emergency calls. |
Signal bars but no internet | Your phone has connected to a cellular network, but mobile data isn't working. This may be related to data settings, APN configuration, plan status, or another connection issue. |
eSIM not visible in settings | The eSIM profile may not have been installed correctly, may have been removed, or there may be another installation or device issue. |
The distinction is important because “No Service” and “no internet” are not necessarily the same problem.
If your eSIM shows signal bars or a network name, your phone has already found and registered on a network. In that case, repeatedly searching for another network may not solve the underlying mobile data problem.
If the eSIM shows “No Service,” troubleshooting should start with network availability and coverage: Is the eSIM enabled? Are you currently somewhere the plan should work? Is a supported maritime or terrestrial network available?
If the eSIM doesn't appear in your phone's SIM settings at all, the problem is more likely related to the eSIM profile or installation rather than network coverage.
Identifying which of these situations you're experiencing can help you choose the right troubleshooting steps instead of immediately deleting or reinstalling the eSIM.
Why Does My eSIM Say “No Service”?
There are several reasons why an eSIM may show “No Service.”
Some are simple settings issues, while others are related to where you are and which networks your eSIM plan supports.
For cruise travelers, network availability can also change throughout the journey as the ship moves between ports, coastal areas, and open sea.
You're Outside the eSIM's Coverage Area
An eSIM can only connect to networks and locations included in your plan. If you're somewhere your plan doesn't provide coverage, your phone may display “No Service” even when the eSIM itself is working correctly.
This is particularly important with cruise eSIMs because coverage can differ depending on where the ship is located. Your plan may provide coverage:
At sea through supported maritime networks.
Near the coast where terrestrial mobile networks are available.
In selected ports.
On land in specific countries included in the plan.
Not every cruise eSIM covers all of these situations. Some plans combine maritime and terrestrial coverage, allowing you to use the same eSIM at sea and during port stops. Others may only provide coverage in certain countries, regions, or maritime areas.
For example, your cruise eSIM might work while the ship is at sea but temporarily show “No Service” after arriving in a country that isn't included in the plan. The opposite can also happen with a regular travel eSIM: it may work perfectly in port but lose service once the ship moves beyond the reach of land-based cell towers.
Before changing your phone's settings, check your provider's coverage information and confirm that your current location, cruise itinerary, and, where applicable, maritime network are supported.
The eSIM Hasn't Connected to a Supported Network Yet
Even when you're within the general coverage area, your eSIM may not connect immediately.
Your phone needs to detect an available network, determine whether the eSIM is allowed to use it, and register with that network. Until that happens, you may temporarily see “No Service.”
This is especially common if you've installed your cruise eSIM before departure. For example, if the plan is designed to connect to a maritime network at sea, that network may simply not be available while you're still at home or waiting at the cruise terminal.
Once the ship enters a supported coverage area, your phone may detect the appropriate network and connect automatically. It can also take a few minutes for a connection to appear when the ship enters a new coverage area or your phone switches between terrestrial and maritime networks.
For this reason, don't delete or reinstall your eSIM simply because it shows “No Service” before your cruise. First, make sure the eSIM is installed and enabled, then wait until you're somewhere the plan is expected to provide coverage.
If you're already in a supported area and the eSIM still doesn't connect after several minutes, you can move on to the troubleshooting steps below.
Your Cruise Ship or Itinerary Isn't Covered
Cruise eSIM coverage isn't necessarily universal. A plan that works on one cruise may not provide the same coverage on another, so it's important to check both the ship and itinerary before purchasing or using your eSIM.
Depending on the provider, coverage may be limited to certain:
Cruise lines
Cruise ships
Maritime networks
Countries or regions
Ports and coastal areas
For example, an eSIM may provide maritime coverage on supported ships but not every vessel operated by the same cruise line. Similarly, a plan that includes several Caribbean or Mediterranean destinations may not include every country or port on your itinerary.
Coverage can also differ between at-sea and on-land use. Your eSIM might connect to a maritime network while sailing but require a different terrestrial partner network when you arrive in port. If that country or network isn't included in your plan, your phone may show “No Service.”
Before your cruise, compare the provider's coverage information with your cruise line, ship, ports of call, and countries on your itinerary. If your eSIM suddenly loses service during the trip, checking whether your current location is covered should be one of your first troubleshooting steps.
Your Phone Is Switching Between Maritime and Land Networks
Cruise travelers regularly move between two different types of cellular coverage: terrestrial networks on or near land and maritime networks farther out at sea.
When your ship approaches a port, your phone may lose its maritime connection before it can connect to an available terrestrial network. When leaving port, the reverse can happen: the land-based signal may become too weak before a supported maritime network becomes available.
During this transition, your phone may temporarily display “No Service.” This doesn't necessarily indicate a problem with your eSIM. There may simply be a short period when neither supported network is available or your phone is still searching for the next one.
If your cruise eSIM includes both maritime and terrestrial coverage, your phone may switch between the supported networks automatically. However, the change isn't always instant, so it can take a few minutes for service to return.
If “No Service” appears briefly when approaching or leaving a port, it's usually better to wait a few minutes before changing settings. If the connection doesn't return once you're clearly within a supported coverage area, you can then check your eSIM, roaming, and network-selection settings.
Data Roaming Is Turned Off
Some travel and cruise eSIMs require Data Roaming to be turned on to work correctly.
This is because the eSIM may connect to partner networks rather than a network operated directly by the eSIM provider.
If your provider requires roaming and it is disabled, your eSIM may not work as expected when you reach a supported network.
For cruise travelers using a regular SIM and cruise eSIM together, the recommended setup is generally:
Cruise eSIM → Data Roaming ON, if required by your provider
Regular/home SIM → Data Roaming OFF
Keeping data roaming off on your regular SIM is particularly important at sea. If your home SIM connects to a maritime cellular network and starts using mobile data, maritime roaming charges can be significantly higher than standard roaming on land.
Turning data roaming off doesn't necessarily mean you need to disable your regular SIM completely. You can keep the line active if you want to receive calls or SMS, although roaming charges may still apply to certain calls and messages.
Always check your eSIM provider's instructions before changing the roaming setting, as requirements can vary between plans.
For a complete Dual SIM setup, see How to Use Your Regular SIM and Cruise eSIM Together.
Automatic Network Selection Isn't Working
Most phones use automatic network selection by default.
Your phone scans for available networks and attempts to connect to one that your eSIM is allowed to use.
Usually, you don't need to choose a network yourself. However, there may be situations where your phone doesn't automatically register with the correct partner network even though coverage is available.
If your eSIM provider gives you the name of a specific supported network, you may be able to temporarily disable automatic network selection and select that network manually. This can be useful when your phone keeps showing “No Service” despite being in a supported coverage area.
Avoid selecting random networks just to see whether one works. In particular, make sure you're changing the network settings for your cruise eSIM rather than your regular/home SIM.
At sea, your home SIM may detect a maritime cellular network. Connecting your regular SIM to it can result in expensive maritime roaming charges, depending on your carrier and plan.
Start with automatic network selection and only switch to manual selection when necessary or when your eSIM provider specifically recommends it.
The eSIM Isn't Enabled
An eSIM can be installed on your phone without currently being enabled for use.
This can easily happen if you installed your cruise eSIM before departure and intentionally switched it off until your trip. When it's time to use the plan, you'll need to make sure the eSIM line itself is turned on.
You should also check that your cruise eSIM is selected for mobile data. Simply enabling the line doesn't always mean your phone will automatically use it for internet access, particularly if your regular SIM is active at the same time.
If you're using Dual SIM, make sure your phone isn't automatically switching mobile data back to your home SIM when the cruise eSIM temporarily loses its connection.
The eSIM Hasn't Activated Yet
Installing an eSIM doesn't always mean that the plan is active and ready to connect immediately.
Installation, activation, and connection are separate stages:
Install → Activate → Connect
Installation adds the eSIM profile to your phone.
Activation starts or prepares the mobile plan for use.
Connection happens when your phone successfully registers with a supported network.
These stages don't necessarily happen at the same time. For example, you might install your cruise eSIM several days before departure, but it may not activate or connect until your cruise begins.
Exactly when activation happens depends on the provider. A plan may activate:
When the eSIM is installed.
When you manually activate it.
When it first connects to a supported network.
Immediately after purchase.
If your eSIM shows “No Service,” check your provider's activation policy before changing your settings or reinstalling the eSIM. If the plan only activates when it first reaches a supported network, seeing “No Service” before departure may be completely normal.
For more information, see How to Activate Your Cruise eSIM Before Boarding.
Your APN Settings Are Incorrect
The Access Point Name (APN) tells your phone how to connect to the mobile data network. If the APN is missing or configured incorrectly, your eSIM may not work properly even when you're within the plan's coverage area.
Many eSIMs configure the APN automatically during installation, so you may not need to change anything. However, some providers require you to enter a specific APN manually.
If your provider requires manual configuration, make sure the APN matches the instructions exactly. Even a small error can prevent mobile data from working correctly.
Don't guess the APN or copy settings from another eSIM. Only use the APN information provided by your eSIM provider, as the correct settings can differ between plans and networks.
Also note that APN problems more commonly cause a connection with no working mobile data rather than “No Service” itself. If your phone has signal bars or displays a network name but you can't access the internet, checking the APN is particularly useful.
Your Phone Is Carrier-Locked
A phone can support eSIM technology and still be locked to a specific mobile carrier.
A carrier lock restricts the phone from using SIMs or eSIMs from other providers. This means you may have an eSIM-compatible device but still be unable to use a third-party travel or cruise eSIM until the phone is unlocked.
If you've installed the eSIM but it won't connect, check your phone's carrier-lock status. Depending on your device, you may be able to see this information in the phone settings. Otherwise, contact your regular mobile carrier to confirm whether the device is unlocked and eligible to use other SIMs.
If the phone is locked, you'll generally need to contact the original carrier about its unlocking requirements. Your eSIM provider normally cannot remove a carrier lock.
You should therefore check both eSIM compatibility and carrier-lock status before buying a cruise eSIM.
Your Plan Has Expired or Isn't Active
If your eSIM previously worked but now shows “No Service,” check the status of your plan.
The eSIM profile can remain installed on your phone even after the associated data plan is no longer usable. Seeing the eSIM listed in your settings therefore doesn't necessarily mean you still have an active plan.
Possible reasons include:
The validity period has ended. For example, a 7-day plan will stop working once its validity period expires.
The plan hasn't started yet. Depending on the provider's activation policy, the plan may still be waiting for activation or its scheduled start.
You've used your data allowance. Some plans stop providing mobile data once all included data has been used.
The plan wasn't successfully activated. The eSIM may be installed correctly even though the associated plan hasn't become active.
Open your provider's app, website, or confirmation email and check the plan's activation status, remaining data, validity period, and coverage.
If everything appears active and you are within a supported coverage area but the eSIM still shows “No Service,” the problem is more likely related to network availability or your phone's settings.
How to Fix “No Service” on Your eSIM?
If your eSIM shows “No Service,” don't delete it immediately.
Start with the simplest checks first. In many cases, the eSIM is installed correctly and only needs access to a supported network or a change to one of your phone's settings.
1. Check Whether You're in a Covered Area
Before changing any settings, make sure your eSIM is actually supposed to work in your current location.
Check your provider's coverage information and confirm that your current country, region, or network is included in your plan.
For cruise travelers, pay particular attention to the difference between maritime and port coverage. A cruise eSIM may support:
Maritime networks while you're at sea.
Terrestrial networks in selected countries and ports.
Both maritime and terrestrial networks.
If you're still at home, waiting at the cruise terminal, or sailing through an unsupported area, “No Service” may simply mean that there isn't a supported network available yet.
Similarly, an eSIM that works at sea may temporarily lose service in port if the plan doesn't include terrestrial coverage in that country.
If you're outside the coverage area, changing your APN, restarting your phone repeatedly, or reinstalling the eSIM won't create coverage. You'll need to wait until a supported network becomes available.
2. Make Sure the eSIM Is Turned On
Next, check that the eSIM itself is enabled.
It's common to install a cruise eSIM before departure and keep it switched off until the trip begins. If you forget to turn it back on, the eSIM won't be able to search for or connect to a network.
On iPhone:
Settings → Cellular/Mobile Service → select your eSIM → Turn On This Line
On Android, the exact menu varies by device, but you'll usually find it under:
Settings → Network & Internet/Connections → SIMs/SIM Manager → select your eSIM → turn it on
Once enabled, give your phone a few minutes to search for an available network, particularly if you're at sea or have just left or arrived at a port.
3. Select the eSIM for Mobile Data
Having an eSIM installed and enabled doesn't necessarily mean your phone is using it for mobile data.
This is particularly important when you're using Dual SIM. Your regular SIM and cruise eSIM can both remain active, but your phone still needs to know which line should provide the internet connection.
On iPhone, go to:
Settings → Cellular/Mobile Service → Cellular/Mobile Data → select your cruise eSIM
On Android, look under:
Settings → Network & Internet/Connections → SIMs/SIM Manager → Mobile Data → select your cruise eSIM
If you're using your regular SIM for calls and SMS and the cruise eSIM for internet access, your setup should generally be:
Calls & SMS → Regular SIM
Mobile data → Cruise eSIM
It's also a good idea to disable automatic mobile data switching. Otherwise, your phone may switch back to your regular SIM when the cruise eSIM temporarily loses its connection, potentially resulting in roaming data charges.
4. Check Data Roaming
Some cruise and travel eSIMs need Data Roaming turned on because they use partner networks to provide coverage.
Check your provider's instructions. If roaming is required, enable it specifically for your cruise eSIM.
Your setup should generally look like this:
Cruise eSIM → Data Roaming ON, if required by the provider
Regular/home SIM → Data Roaming OFF
This distinction is especially important on a cruise. If data roaming is enabled on your regular SIM, your phone could connect to an international or maritime network and use data through your home carrier. At sea, this can result in particularly high roaming charges.
Keeping data roaming off on your regular SIM doesn't necessarily prevent you from keeping the line active for calls and SMS. However, calls and messages may still incur roaming charges depending on your carrier and the network you're connected to.
After changing the roaming setting, wait a few minutes to see whether the cruise eSIM connects to an available network.
5. Turn Airplane Mode On and Off
If your eSIM should have coverage but still shows “No Service,” try turning Airplane Mode on for about 20–30 seconds and then turning it off again.
This temporarily disconnects your phone from cellular networks. When Airplane Mode is switched off, the phone starts searching for available networks again, which can help it establish a fresh connection.
This can be particularly useful on a cruise when you've recently:
Left a port.
Arrived in a new port.
Entered maritime coverage.
Moved between terrestrial and maritime networks.
After turning Airplane Mode off, give your phone a few minutes to reconnect rather than repeatedly switching it on and off.
6. Restart Your Phone
If refreshing the connection with Airplane Mode doesn't work, try restarting your phone.
A restart forces the device to reload its cellular settings and search for available networks again. This can sometimes resolve a temporary connection problem without requiring you to change any eSIM settings.
After the phone restarts, confirm that your cruise eSIM is still enabled, selected for mobile data, and using the correct data roaming setting. Then allow a few minutes for it to find and register with an available network.
Avoid deleting the eSIM simply because restarting doesn't immediately restore service. There are still several settings and coverage checks you can try first.
7. Check Network Selection
Most phones are set to Automatic network selection, which allows the device to find and connect to an available network supported by your eSIM.
In most situations, this is the setting you should use.
If your phone shows “No Service,” first confirm that automatic network selection is enabled. Turn it off and back on if necessary to trigger another network search.
Some eSIM providers may instruct you to connect to a specific partner network manually. In this case, turn off automatic selection, wait for the list of available networks to appear, and choose the network specified by your provider.
Don't simply choose random networks from the list. A visible network isn't necessarily included in your eSIM plan, and your phone may be unable to register with it.
Also make sure you're changing the network settings for the cruise eSIM, not your regular SIM. At sea, manually connecting your home SIM to a maritime network could result in expensive roaming charges.
8. Check the APN Settings
If your eSIM provider requires a specific Access Point Name (APN), make sure it has been entered correctly.
The APN contains information your phone uses to access mobile data through the provider's network. Many eSIMs configure this automatically during installation, but some require manual setup.
Check the installation instructions provided with your eSIM and compare them with the APN currently entered on your phone. Pay attention to spelling, capitalization, and any other fields the provider tells you to configure.
Don't guess the APN or use settings found for another provider. Use only the APN information supplied with your specific eSIM plan.
Keep in mind that an incorrect APN more commonly causes signal but no working internet than “No Service.” If your phone already displays signal bars or a network name, checking the APN becomes especially relevant.
9. Wait a Few Minutes
Sometimes the solution is simply to give your phone more time to connect.
A cruise eSIM doesn't necessarily establish a connection the moment your ship enters a supported area. Your phone first needs to detect the available network and successfully register with it.
This can take several minutes, particularly when the ship is:
Leaving a port and moving out of terrestrial coverage.
Entering an area with supported maritime coverage.
Approaching a port and switching back to a land-based network.
Moving between different network coverage areas.
For example, your phone may lose its terrestrial connection shortly after leaving port but not immediately connect to a maritime network. During this gap, seeing “No Service” can be normal.
If you've confirmed that your location is covered, the eSIM is enabled, the correct SIM is selected for data, and your roaming settings are correct, wait a few minutes before making further changes.
If “No Service” continues for an extended period even though you should have coverage, check your provider's network instructions or contact their support team.
Featuted photo by Brett Jordan from Pexels