eSIM Setup & Activation
How to Use Your Regular SIM and Cruise eSIM Together: Setting Up Dual SIM for a Cruise
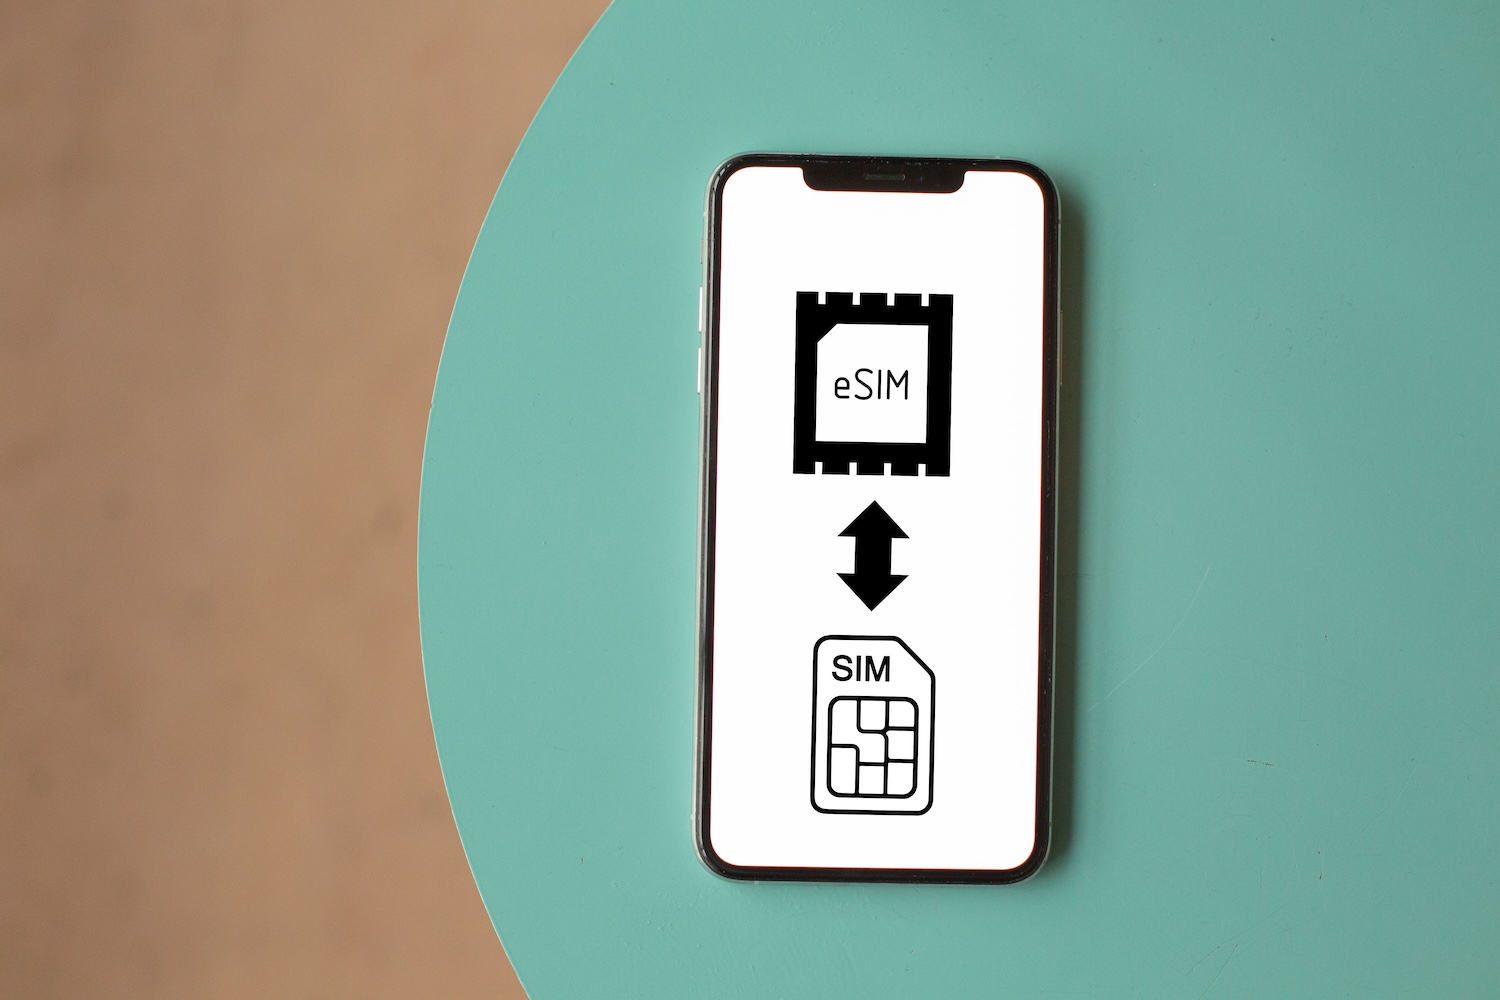
Using a cruise eSIM doesn't mean you have to stop using your regular SIM.
If your phone supports Dual SIM, you can keep both active and use them for different purposes throughout your cruise.
Your cruise eSIM can handle mobile data, while your regular SIM stays available for your usual phone number, calls, and text messages. This gives you the convenience of staying connected without having to remove your SIM card or constantly switch between mobile plans.
However, using two SIMs at the same time means there are a few settings you need to get right. In this guide, we'll show you step by step how to set up your regular SIM and cruise eSIM together, which SIM to use for data, and what to check before your ship leaves port.
How to Use Your Regular SIM and Cruise eSIM Together: Quick Dual SIM Setup
The simplest way to use both SIMs together is to let your cruise eSIM handle mobile data while keeping your regular SIM available for your normal phone number, calls, and SMS.
Before your cruise, use this setup:
Install your cruise eSIM before departure while you have a reliable Wi-Fi connection.
Keep both SIMs enabled if you want your regular phone number to remain available.
Select the cruise eSIM for Mobile Data so your phone uses its data allowance for internet access.
Turn Data Roaming ON for the cruise eSIM if required by your eSIM provider.
Turn Data Roaming OFF for your regular SIM to help prevent it from using roaming data.
Disable automatic mobile data switching so your phone doesn't switch to your regular SIM if the cruise eSIM temporarily loses its connection.
Keep your regular SIM selected for calls and SMS if you want to continue using your usual phone number. Remember that roaming charges may apply when you use these services abroad or at sea.
Check your mobile data line before the ship leaves port and confirm that the cruise eSIM is selected.
Your settings should generally look like this:
Setting | Regular SIM | Cruise eSIM |
|---|---|---|
SIM enabled | Yes | Yes |
Mobile data | No | Yes |
Data roaming | Off | On if required |
Calls | Regular SIM | — |
SMS | Regular SIM | — |
Automatic data switching | Off | Off |
This setup keeps the roles of the two SIMs separate: your cruise eSIM provides the internet connection, while your regular SIM keeps your normal number available when you need it.
Step 1: Install Your Cruise eSIM Before Your Cruise
It's best to buy and install your cruise eSIM before boarding the ship, while you still have a reliable Wi-Fi connection.
This gives you time to complete the installation and check your settings before you sail.
When installing your eSIM:
Don't delete or remove your regular SIM. You can keep both SIMs on your phone.
Give your new eSIM a clear label, such as Cruise eSIM or Caribbean Cruise eSIM.
Keep your regular SIM labeled Primary, Personal, or something else that's easy to recognize.
Follow your eSIM provider's instructions about when to activate the plan. Some plans start when they first connect to a supported network, while others may have different activation rules.
Clear labels are especially helpful when changing your data and roaming settings later.
You'll immediately know which settings belong to your regular SIM and which belong to your cruise eSIM.
Read more: When to Buy Your Cruise eSIM (Before vs. on Arrival)
Step 2: Make Sure Both SIMs Are Turned On
Once your cruise eSIM is installed, check that both SIMs are enabled.
Your cruise eSIM needs to be turned on to connect to supported networks. Your regular SIM can also stay on if you want to keep your normal number available for calls and SMS.
On iPhone
Go to:
Settings → Cellular/Mobile Service → SIMs
Select each line and make sure Turn On This Line is enabled for both your regular SIM and cruise eSIM.
On Android
The exact menu depends on your phone, but you'll usually find your SIMs under:
Settings → Connections/Network & Internet → SIM Manager/SIMs/Mobile Network
Make sure both your regular SIM and cruise eSIM are enabled.
Samsung, Google Pixel, Xiaomi, and other Android phones may use slightly different names for these settings, but the basic setup is the same.
Read more: Can I Use My Regular SIM and Cruise eSIM at the Same Time?
Step 3: Set Your Cruise eSIM as the Mobile Data SIM
Next, tell your phone to use the cruise eSIM for mobile data instead of your regular SIM.
You can do this while installing the eSIM. During installation, depending on your phone model or the eSIM app, you may be asked whether you want to enable mobile data switching. Choose the option that keeps your cruise eSIM selected for mobile data, rather than allowing your phone to switch automatically to your regular SIM.
This is one of the most important settings when using both SIMs together.
Once the cruise eSIM is selected as your mobile data line, your phone will use its data connection for everyday internet activities such as:
Browsing the web.
Using Google Maps or Apple Maps.
Checking email.
Using social media.
Sending messages through WhatsApp, Messenger, or other messaging apps.
Using apps that require an internet connection.
Streaming music or video.
Your regular SIM can remain active for your normal phone number, while the cruise eSIM handles your internet connection.
How to Select Your Data SIM on iPhone
Go to:
Settings → Cellular/Mobile Service → Mobile/Cellular Data
Select your Cruise eSIM.
You should see a checkmark next to the cruise eSIM, showing that it is now your selected line for mobile data.
Below the SIM list, you'll also see Allow Mobile Data Switching or Allow Cellular Data Switching. Make sure this is turned OFF.
This prevents your iPhone from automatically switching to your regular SIM for mobile data if the cruise eSIM temporarily loses its connection.
How to Select Your Data SIM on Android
The exact steps vary depending on the manufacturer, but you'll usually find the setting under:
Settings → Connections/Network & Internet → SIM Manager/SIMs → Mobile Data
Select your Cruise eSIM as the preferred SIM for mobile data.
On Samsung phones, this setting is usually found in SIM Manager, while Google Pixel and other Android phones may use slightly different menu names.
On some Android phones, you'll also see an option such as Automatic Data Switching, Auto Data Switching, or Switch Mobile Data Automatically. Make sure this is turned OFF.
This prevents your phone from automatically switching to your regular SIM for mobile data if the cruise eSIM temporarily loses its connection.
Check Your Data SIM
Before your ship leaves port, open your phone's SIM or mobile network settings one more time and check which SIM is selected under Mobile Data or Cellular Data.
It should show your Cruise eSIM, not your regular SIM.
Step 4: Turn On Data Roaming for the Cruise eSIM If Required
Many cruise and travel eSIMs require Data Roaming to be turned on. This allows the eSIM to connect to the partner networks included in your plan.
Always check the instructions from your cruise eSIM provider first. If data roaming is required, make sure you enable it only for the cruise eSIM, not your regular SIM.
Your setup should look like this:
Cruise eSIM → Data Roaming ON
Regular SIM → Data Roaming OFF
On iPhone
Go to:
Settings → Cellular/Mobile Service → Cruise eSIM → Data Roaming
Turn Data Roaming ON if required by your eSIM provider.
On Android
The exact path varies by device, but you'll usually find it under:
Settings → Connections/Network & Internet → SIMs/Mobile Networks → Cruise eSIM → Data Roaming
Turn Data Roaming ON for the cruise eSIM.
Be careful to select the correct SIM before changing this setting. Your regular SIM's data roaming should remain off to help prevent unwanted roaming data charges.
Read more:
Step 5: Turn Off Data Roaming on Your Regular SIM
Next, make sure Data Roaming is turned OFF for your regular SIM. This is one of the most important settings to check before your cruise.
When you're abroad or sailing at sea, your regular SIM may detect international or maritime mobile networks. If data roaming is enabled, your phone could use your home carrier's roaming service for mobile data, which may result in additional charges.
Your settings should be:
Regular SIM → Data Roaming OFF
Cruise eSIM → Data Roaming ON if required
Turning off data roaming on your regular SIM helps make sure that apps, email, maps, social media, and other online activities don't accidentally use your regular mobile plan.
On iPhone
Go to:
Settings → Cellular/Mobile Service → Select your regular SIM → Data Roaming
Turn Data Roaming OFF.
On Android
The exact path varies by phone, but you'll usually find it under:
Settings → Connections/Network & Internet → SIMs/Mobile Networks → Select your regular SIM → Data Roaming
Turn Data Roaming OFF.
Remember that this setting controls mobile data roaming.
Keeping your regular SIM enabled may still allow it to connect to available networks for calls and SMS, and roaming charges for those services may still apply.
Read more: What Happens If You Leave Roaming On During a Cruise?
Step 6: Turn Off Automatic Mobile Data Switching
Some Dual SIM phones can automatically switch to the other SIM when the selected mobile data connection becomes weak or unavailable.
On a cruise, you generally don't want this to happen. If your cruise eSIM temporarily loses coverage, your phone shouldn't automatically switch to your regular SIM for mobile data.
The goal is:
Cruise eSIM loses coverage → phone waits for coverage to return
Not → phone switches to your regular SIM
On iPhone
Go to:
Settings → Cellular/Mobile Service → Mobile/Cellular Data
Make sure your Cruise eSIM is selected for Cellular Data.
Then find Allow Cellular/Mobile Data Switching and turn it OFF. Usually this toggle is located just below the SIM list under the Mobile/Cellular Data.
This helps keep your mobile data assigned to the cruise eSIM even when its connection is temporarily unavailable.
On Android
Android settings vary depending on the phone manufacturer. Look under SIM Manager, SIMs, Mobile Network, or similar settings.
The feature may be called:
Auto Data Switching
Automatic Data Switching
Switch Mobile Data Automatically
Backup Calling/Data
Automatic SIM Switching
If your phone has one of these options, turn it OFF.
The exact name isn't important — the goal is to prevent your phone from automatically using your regular SIM for mobile data when the cruise eSIM loses its connection.
Step 7: Choose Which SIM to Use for Calls and SMS
Next, decide which SIM you want to use for traditional phone calls and SMS.
If you want to keep using your normal phone number during your cruise, select your regular SIM as the preferred or default line for calls and text messages.
Your setup should look like this:
Calls → Regular SIM
SMS → Regular SIM
Mobile Data → Cruise eSIM
On some phones, you can also choose Ask Every Time for calls. This lets you select which SIM to use whenever you make a call.
Remember that your cruise eSIM is often a data-only eSIM, so it may not provide a traditional phone number, cellular calls, or SMS.
Also, selecting your regular SIM for calls and SMS doesn't mean those services are free while traveling. International or maritime roaming charges may apply depending on your carrier and where the ship is located.
Step 8: Check Your Settings Before the Ship Leaves Port
Before sailing, take a minute to check your SIM settings one final time.
It's much easier to fix a setting while you're still in port and have access to reliable Wi-Fi or land-based mobile coverage than after the ship has already sailed.
Check that:
Both SIMs are enabled if you want to use them together.
Cruise eSIM is selected for Mobile Data/Cellular Data.
Data Roaming is ON for the cruise eSIM if required by your provider.
Data Roaming is OFF for your regular SIM.
Automatic Data Switching is OFF.
Regular SIM is selected for calls and SMS if you want to keep using your normal number.
Cruise eSIM appears correctly in your phone's SIM settings.
A good final setup should look like this:
Setting | Regular SIM | Cruise eSIM |
|---|---|---|
SIM enabled | Yes | Yes |
Mobile data | No | Yes |
Data roaming | Off | On if required |
Calls | Regular SIM | — |
SMS | Regular SIM | — |
Automatic data switching | Off | Off |
Once everything is set correctly, you generally shouldn't need to keep changing your SIM settings.
Your cruise eSIM can handle mobile data while your regular SIM remains available for your normal phone number.
How to Check Which SIM Is Currently Using Mobile Data
Before using mobile data at sea, it's a good idea to check that your phone is actually using your cruise eSIM rather than your regular SIM.
The easiest way is to open your phone's SIM settings and check which SIM card is selected for Mobile Data or Cellular Data.
You should also make sure automatic data switching is turned off so your phone doesn't switch to your regular SIM if the cruise eSIM temporarily loses coverage.
Read more: Cruise eSIM Data Plan Used Up Too Fast? How to Manage Your Data
Can I Still Receive Calls and Texts on My Regular Number?
Yes, you can usually keep your regular SIM active while using your cruise eSIM for mobile data.
As long as your regular SIM can connect to a supported network, your normal phone number can remain available for calls and SMS. This is useful if you need to receive an important message, verification code, or phone call during your trip.
The important setting to check is Data Roaming.
When your ship is in port, your regular SIM may connect to a local mobile network. Once you're at sea and away from land-based networks, it may connect to a maritime cellular network if one is available and supported by your carrier.
If Data Roaming is ON for your regular SIM, your phone may use your home SIM for internet access while abroad or at sea. Maritime data roaming can be particularly expensive, which is why we recommend keeping:
Regular SIM → Data Roaming OFF
Cruise eSIM → Data Roaming ON if required
Turning Data Roaming OFF on your regular SIM only prevents that line from using roaming mobile data. It does not normally stop the SIM from connecting to a network for traditional calls and SMS.
This means you can keep your regular SIM active to receive calls and texts while using your cruise eSIM for internet access.
However, calls and SMS can still have roaming charges:
Receiving calls may cost extra.
Making calls may result in international or maritime roaming charges.
Sending SMS may be charged.
Incoming SMS may be free with some carriers.
Prices depend on your carrier, plan, and the network you're connected to.
Calls and SMS at sea can still be more expensive than at home, but mobile data roaming is particularly important to avoid because background apps and normal phone use can consume data quickly and potentially create a much larger bill.
For this reason, keeping your regular SIM active while turning its Data Roaming OFF is a useful setup if you want access to your normal number without allowing your home SIM to handle your internet connection.
How to Temporarily Turn Off Your Regular SIM
If you don't need calls or SMS while you're at sea, you can temporarily turn off your regular SIM.
You don't need to remove the physical SIM card or delete an eSIM from your phone.
This can be useful if:
You don't need your regular phone number while at sea.
You want to reduce the possibility of your regular SIM connecting to a roaming network.
You plan to communicate through WhatsApp, Messenger, or other internet-based apps using your cruise eSIM.
You simply want to keep your SIM setup as simple as possible while sailing.
Your cruise eSIM can remain turned on for mobile data while your regular SIM is disabled.
On iPhone
Go to:
Settings → Cellular/Mobile Service → Select your regular SIM
Turn Turn On This Line OFF.
When you want to use your regular SIM again, return to the same menu and turn Turn On This Line back ON.
On Android
Go to:
Settings → Connections/Network & Internet → SIM Manager/SIMs
Select your regular SIM or use the toggle next to it to turn the line OFF.
To use it again, return to the same settings and turn the SIM ON.
Turning off your regular SIM this way is temporary. It doesn't remove your mobile plan or delete the SIM from your phone.
Just remember that while your regular SIM is turned off, you generally won't receive traditional calls or SMS sent to that line until you turn it back on and it reconnects to a network.
Recommended SIM Settings for Different Situations
You may want to adjust your SIM settings depending on whether you're at sea, in port, or need access to your regular phone number.
In most cases, the simplest setup is to keep your cruise eSIM selected for mobile data throughout the cruise and your regular SIM's data roaming turned off. However, there are situations where you may want to temporarily change these settings.
Situation | Regular SIM | Cruise eSIM |
|---|---|---|
Sailing at sea | Calls/SMS only or Off | Mobile data |
Need verification SMS | Keep active | Mobile data |
Don't need regular number | Turn off | Mobile data |
In port with cruise eSIM land coverage | Calls/SMS optional | Mobile data |
Using home carrier's included roaming in port | Mobile data temporarily | Keep installed |
Back at sea | Data roaming off | Mobile data |